
Last updated: September 2, 2026
Reviewed by: Sigma Painting project team
To choose a painting contractor in Ontario, compare written evidence rather than labels. Ask every shortlisted company for similar completed projects, a substrate-specific prep plan, named coating products, coat count, protection, insurance, schedule, change process, closeout, and warranty. Then compare price against the same scope. A contractor can be a good fit without being the cheapest, the largest, or the one that calls itself luxury.
High-end homes make weak scope documents expensive. Detailed millwork, stone floors, tall foyers, old plaster, occupied rooms, designer colours, and specialty finishes all create decisions that should be settled before work starts. The scorecard below is designed to help a homeowner, designer, or builder make those decisions visible.
Ontario Checks Before You Compare Quotes
Use Ontario sources, not a generic U.S. contractor checklist, for the consumer-protection basics. Ontario's guidance says a home-renovation contract worth more than $50 must be in writing. When an estimate forms part of the contract, the final price for goods and services cannot be more than 10% above it unless the customer agrees to new work or a new price. The province also recommends keeping down-payments to a minimum and including the estimate in the contract. Read the full Ontario home-renovation guidance before signing; it explains when a cooling-off period and other protections may apply.
Ask the contractor how insurance and WSIB coverage apply to your exact project. A resident directly retaining a contractor for exempt home-renovation work does not always need a WSIB clearance, while construction principals, builders, businesses, and condominium corporations can have different obligations. A clearance, when it applies, shows that a registered business is in good standing with the WSIB. The WSIB clearance guidance distinguishes those situations. Building management may separately require certificates of insurance, indemnities, or a contractor form before a crew gets access.
For older homes, ask how the contractor will assess coatings before aggressive sanding, scraping, or removal. Health Canada notes that homes built before 1960 are likely to contain lead-based paint and that exterior coatings from 1960–1990 can also present a risk. The answer should be a site-specific testing and containment plan, not a reference to U.S. EPA rules. See Health Canada's lead-paint information for current guidance.
Use the Same Scorecard for Every Contractor
Give each company the same drawings, room list, finish schedule, access information, and expectations. If one painter is quoting walls only and another is quoting walls, ceilings, trim, repairs, premium coatings, and daily cleanup, the totals do not describe the same job.
| Criterion | Strong evidence | What to question |
|---|---|---|
| Comparable project evidence | Original photos and a scope similar to your home | Addresses, client privacy limits, and missing details explained honestly |
| Preparation specification | Repairs, cleaning, sanding, caulking, filling, priming, and samples | Vague phrases such as prep as needed with no defined outcome |
| Coating system | Primer, product line, sheen, colour assumptions, and coat count by surface | Premium paint with no brand, line, or number of coats |
| Application method | Brush, roller, spray, or trowel selected for each substrate | Spraying sold as automatically better without containment or prep |
| Protection procedure | Floors, furniture, stone, glass, cabinetry, adjacent rooms, and daily cleanup | Protection discussed only after the crew arrives |
| Insurance and WSIB | Current documents appropriate to the site and customer type | Verbal assurance with no certificate when one is required |
| Schedule and supervision | Start window, working hours, milestones, site lead, and trade handoffs | A finish date with no plan for access, drying, or other trades |
| Change process | Written scope changes with price and schedule impact approved first | Extras added verbally after work starts |
| Closeout and warranty | Inspection, deficiency list, touch-up responsibility, care guidance, and written terms | A broad warranty promise that does not match the product or service |
1. Ask for Comparable Project Evidence
A portfolio proves that a company has taken photographs. A useful case study proves that the company has handled a scope like yours. Look for city, property type, included surfaces, starting condition, preparation, product, application method, and result. Dates and duration help when they are recorded. Missing details should be marked as missing instead of filled in with marketing copy.
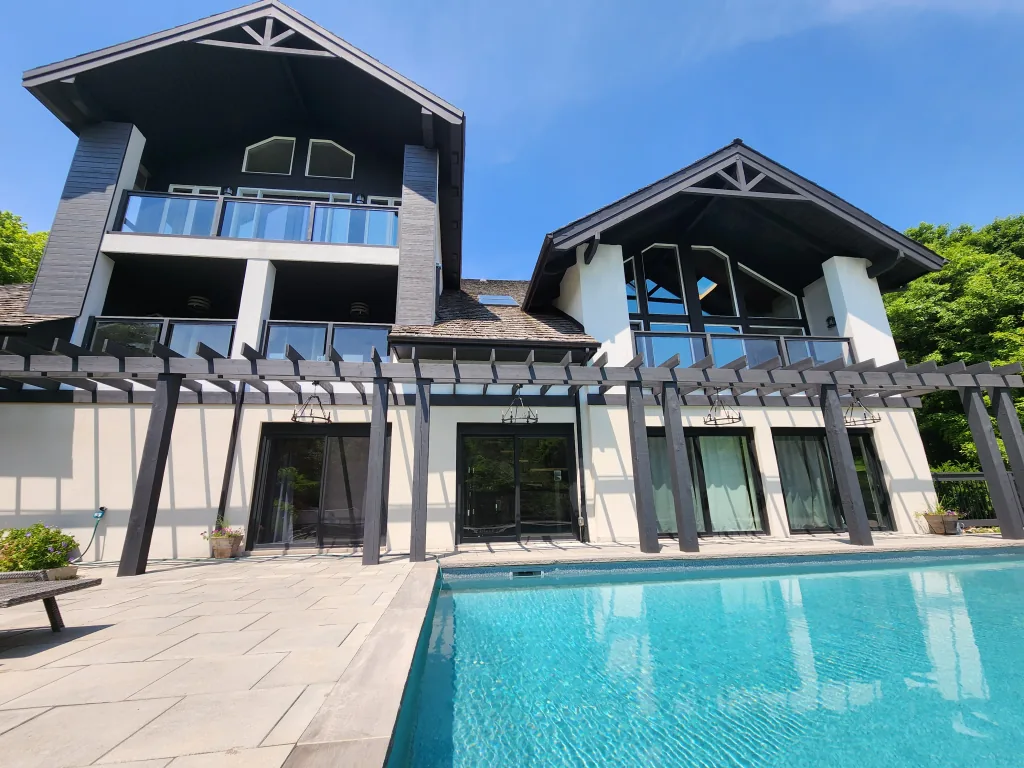
Sigma's project portfolio includes original job-site photography and documented scopes. The luxury painters in Toronto guide also shows which coating and duration details are not present in the public record. That is a useful standard to apply to any contractor's evidence, including ours.
2. Read the Preparation Specification
Preparation is not one line item. New drywall, old plaster, MDF, oak, previously oil-painted trim, laminate cabinets, and mineral masonry have different failure modes. The quote should name the work needed to create a stable surface, including repairs, cleaning, abrasion, filling, sealing, caulking, spot priming, full priming, or sample approval where relevant.
On detailed work, ask what the finished surface is expected to look like under normal and critical light. A sprayed topcoat over poorly filled fasteners and rough MDF edges will make those defects more consistent, not less visible. Review Sigma's millwork spraying preparation guide for a practical example.
3. Require a Named Coating System
Premium paint is not a specification. A useful quote names the primer, topcoat product line, sheen, colour assumptions, and coat count for walls, ceilings, trim, doors, cabinets, and specialty surfaces. It should also explain what changes if the selected colour needs an extra coat or a tinted primer.
Designer products deserve the same discipline. A contractor working with Farrow & Ballshould be able to discuss the selected finish, substrate prep, application, touch-up expectations, and whether a sample has been approved in the room's actual light.
4. Match the Application Method to the Surface
Spraying can produce a uniform film on trim, doors, cabinetry, built-ins, and panelling. It also requires containment, masking, air control, access planning, and protected cure time. Brush and roller application may be better for occupied-room walls, small areas, touch-ups, or a hand-worked finish. Venetian plaster is trowelled. Limewash is brushed for controlled variation. Ask why the proposed method fits the surface instead of accepting one method as a universal sign of quality.
5. Inspect the Protection and Occupancy Plan
In an occupied home, the contractor should identify the work zone, protected circulation route, furniture plan, floor protection, material storage, ventilation, working hours, and daily reset. Ask how children and pets are kept away from wet work and how rooms are returned to use while coatings cure.
High-value adjacent finishes should be named. Stone, glass, finished cabinetry, hardware, wallpaper, lighting, flooring, and existing millwork all need a protection method appropriate to the surface. A generic promise to be careful is not a method.
6. Verify Insurance, WSIB, and Site Responsibility
Ask which insurance and WSIB documents apply to your property and project rather than treating a clearance as a generic homeowner credential. Builders, property managers, and condo corporations may require current documentation before access is granted. Also ask who is responsible for site supervision, safety, keys, alarm procedures, and communication with building management or other trades.
Ask whether the people completing the work are employees, subcontractors, or a mix. None of those structures automatically determines quality. The important questions are who supervises the work, how standards are communicated, whose coverage applies, and who corrects deficiencies.
7. Review the Schedule and Change Process
A schedule should account for setup, preparation, dry time, cure time, access equipment, colours, other trades, and inspections. On a custom home, ask when painters enter after drywall, when millwork is installed, when floors are protected, and what must be complete before final coats. The custom-home painting sequence shows the main handoffs.
Changes should be written before the extra work starts. A simple change record names the added or removed scope, price, schedule effect, and approval. That protects both the homeowner and the contractor from relying on a hallway conversation two weeks later.
8. Compare Warranty Terms to the Actual System
A warranty should say what is covered, for how long, which product and service it applies to, what is excluded, and how a claim is handled. Exterior, interior, mineral coating, and cabinet terms may differ. Compare the written warranty with the exact system in the quote. Sigma's published warranty separates service and product tiers rather than presenting one broad promise for every job.
9. Understand Why High-End Quotes Cost More
A higher quote can reflect more preparation, sprayed fine-finish work, complex masking, access equipment, sample boards, premium products, project supervision, occupied-home protection, and a more formal deficiency process. It can also simply be expensive. The only way to tell is to compare the written scope line by line.
Use the 2026 GTA painting cost guide for published planning ranges, then request an on-site review for the actual home. A floor-area number cannot account for surface condition, ceiling height, trim volume, colour, occupancy, or specialty finishes by itself.
Questions to Ask During the Estimate
- Which recent project is most similar to mine, and what was included?
- What surface problems do you see, and how will each one be prepared?
- Which primer, topcoat, sheen, and coat count are included by surface?
- Which surfaces will be sprayed, brushed, rolled, or trowelled, and why?
- How will floors, furniture, stone, glass, hardware, and adjacent rooms be protected?
- Who supervises the work, and are the applicators employees or subcontractors?
- What insurance and WSIB documents can you provide?
- What is the schedule, and what can change it?
- How are extras approved before work starts?
- What happens during the final inspection and deficiency closeout?
- Which written warranty applies to this exact coating system?
For a Custom Build, Also Ask These
A custom build adds questions a repaint never raises. Put these to every contractor bidding the project — the answers separate a production repaint crew from a partner who can hold an architectural specification:
- How do you coordinate with the builder or GC, and can you work directly from architectural drawings and specifications?
- What is your drywall primer methodology — do you spray and back-roll, and why?
- What level of preparation and sanding happens between coats?
- Can you spray-finish doors, trim, cabinetry, and millwork to a factory-grade standard?
- Can you execute Venetian plaster, limewash, or other specialty finishes if the design calls for them?
- How many painters will be on site, and what is the expected duration, phase by phase?
- Can you provide current WSIB and liability insurance certificates?
- Is your workmanship warranty in writing, and what exactly does it cover?
- Can you provide references from recent custom-home builders — not just repaint customers?
Sigma's own answers to this list are documented on the custom home and new construction page and the builder and designer workflow page.
A Fair Way to Compare the Finalists
Score each contractor from zero to two on every criterion in the table: zero for missing, one for discussed but not documented, and two for clear written evidence. Do not award points for superlatives, follower counts, or a luxury label. Then compare price, fit, communication, and availability among the companies that meet the minimum evidence standard for your home.
You can also review Sigma Painting's company background, the Toronto service-area page, and the original project photography before deciding whether to include Sigma on your shortlist. The same scorecard should still be applied.